
Most Stratux support questions start the same way: “It worked great on the ground and then…” Don’t be that pilot. A two-minute pre-flight check of your Stratux takes longer than reading this sentence but saves a lot of frustration 5,000 feet up.
These eight checks come directly from patterns our support team sees repeatedly. Work through them before your first flight — and again any time you haven’t flown with Stratux in a while. The Status page on your Stratux web interface (at 192.168.10.1) tells you almost everything you need to know.
1. Confirm GPS Lock Before You Move
Open the Stratux Status page and look for GPS position, altitude, and satellite count. You want 6+ satellites minimum; 10+ is ideal. The position should match your actual location — not 0,0 (somewhere in the Atlantic) or some random address across the country.
Why this matters: no GPS means no AHRS attitude data, no relative positioning for traffic, and your ownship won’t appear correctly in your EFB. Give Stratux 3–5 minutes after power-on to acquire satellites if you’re in a new location or haven’t used the unit in weeks.
2. Verify Traffic Reception
Even sitting at the ramp, you should see 1090 MHz messages on the Status page — transponder squawks from nearby aircraft, ground vehicles, anything that’s transmitting. If you have a dual-band unit, check 978 MHz UAT counts too (in the US).
If you see zero messages while sitting at a busy airport, something’s wrong: antenna connection, SDR, or settings. Fix it before you fly, not after.
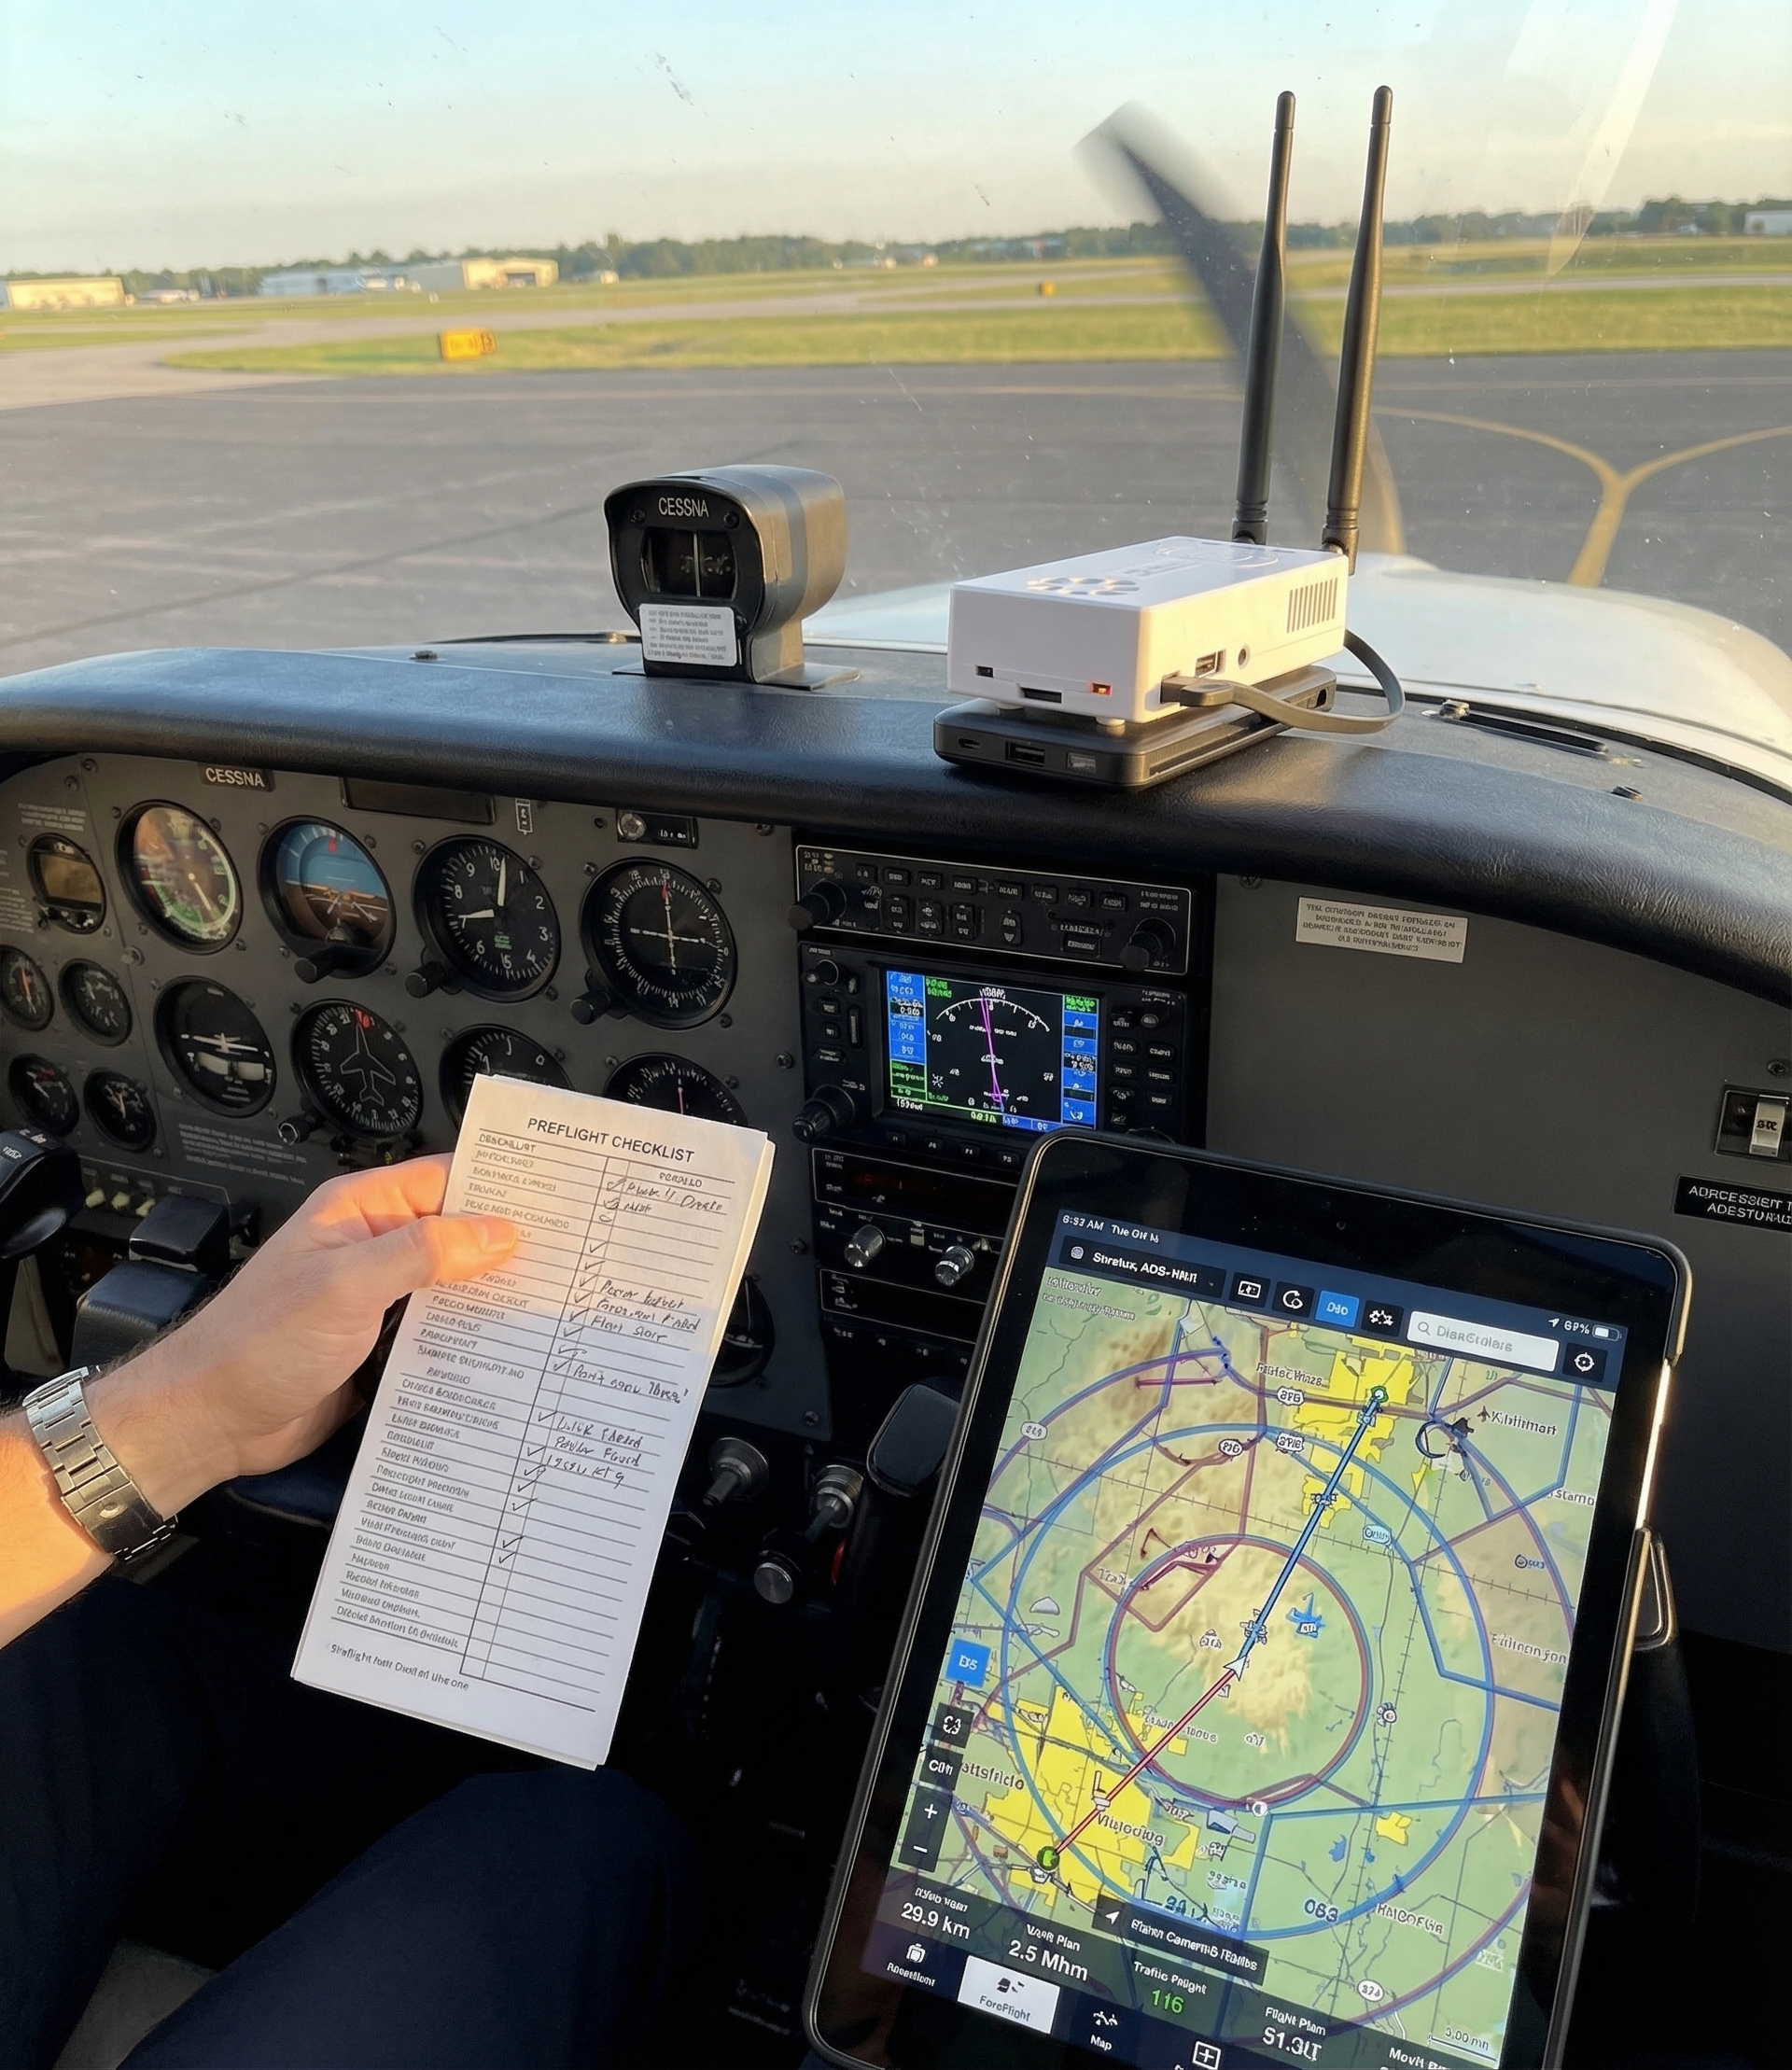
3. Confirm Your EFB Actually Has Stratux Data
This is the one that catches people. Open your EFB app — ForeFlight®, Garmin Pilot, SkyDemon, WingX, whichever you use — and verify it shows “Stratux connected” or an equivalent status. Then verify your position is coming from Stratux, not the tablet’s internal GPS.
Most EFBs show a small GPS source indicator. If it says “internal” or shows your tablet’s cellular-assisted location instead of Stratux, the WiFi connection dropped silently. Reconnect and verify the source before you taxi.
Bonus check: see at least one traffic target in your EFB (even a ground vehicle with ADS-B Out). If you’re connected and seeing nothing, check whether your EFB is set to show traffic from external devices.
4. Set Your Region
On the Stratux Settings page, Region must be selected — not left at 0 or “not configured.” In the US: enable both 978 MHz UAT and 1090 MHz ES. In Canada and Europe: 1090 MHz ES, plus 868 MHz OGN if you have that hardware.
UAT coverage extends across Canada via CIFIB towers — pilots flying across the border don’t need to change hardware. But they do need the right region setting. Wrong region = wrong frequencies = no traffic where you expect it.
5. Enter Your Ownship Code (If You Have ADS-B Out)
If your aircraft has ADS-B Out, set your ownship ICAO 24-bit hex code in Stratux Settings. Without it, your own transponder appears as a nearby traffic target — a ghost following you at 0 feet separation, which is confusing and can mask real targets.
You can find your aircraft’s hex code by searching your tail number on any flight tracking website. It’s a 6-character hex string like A1B2C3. Enter it once; it stays in your Stratux configuration.
6. Check Power Before You Leave the Ramp
Stratux should have been running for at least 5 minutes before takeoff. On the Status page, check CPU temperature (below 70°C is fine) and make sure there are no power warnings. On the hardware, no red or blinking LEDs should be present.
Power cable quality matters more than people expect. A cable that’s marginal on the ground becomes a problem at cruise when vibration loosens the connection. Strain-relieve your USB cables before you fly; use at least a 2.5A power source, ideally 3A.
7. Calibrate AHRS in Its Flight Position
Stratux’s built-in AHRS — the attitude reference that drives synthetic vision in your EFB — is a remarkable $20 backup tool. It gives you pitch and roll when your primary instruments are unavailable. But it needs to be calibrated with the unit in its actual flight position, not sitting flat on a table.
Mount Stratux where it will fly. Then on the Settings page, tap “Set Level.” Do this once when you install the unit; repeat any time you change the mounting position or haven’t flown in a few months. A few seconds on the ground means accurate attitude data in the air.
8. Antenna Has Clear Sky View
ADS-B is line-of-sight. If your antennas are buried inside a metal structure — dashboard, door pocket, bag — reception suffers. Mount Stratux where the antennas have an unobstructed view upward. A suction cup mount on the glareshield, a kneeboard mount, or a seat bracket all work well.
While you’re at it: make sure USB cables are strain-relieved. A cable that pulls free in turbulence takes down your entire setup mid-flight. Secure them with a cable tie or velcro before you go.
After Your First Flight
When you land, spend 60 seconds on the Status page: were traffic messages received throughout the flight? Check your EFB track log — did it record a complete track? If AHRS attitude was drifting, recalibrate the sensor orientation via Settings → Calibrate AHRS before your next flight.
The Stratux community forums and the Crew Dog Electronics support team see most issues quickly. If something didn’t work right, bring your hardware specs, firmware version, and a description of the symptom — someone will recognize it.
These checks cover the most common pre-flight gaps we see. They don’t replace your aircraft checklist or aeronautical judgment — Stratux is a situational awareness tool, not certified avionics. Fly the aircraft first, always.
Building a new Stratux? Crew Dog Electronics builds and sells complete, tested units ready to fly — no soldering required.