Two pilots are dead. The FAA issued an emergency order. And the conversation about situational awareness in and around airports just changed.
On March 23, an Air Canada CRJ-900 on landing rollout at LaGuardia collided with an airport fire truck on the runway. Both pilots were killed. The NTSB is now pushing for vehicle transponder mandates at major airports. Four days earlier, the FAA issued a GENOT — an emergency notice — ending see-and-avoid procedures for helicopters at towered airports, effective immediately.
Two incidents in a week. Both point at the same systemic gap: knowing what’s sharing your airspace (and your runway) isn’t always possible with eyes alone.
What Changed and Why It Matters
The FAA GENOT (issued March 19) is significant. “See and avoid” has been the backbone of VFR operations for decades. Telling helicopter operators that see-and-avoid is no longer acceptable at busy towered airports is a signal that the FAA recognizes a fundamental limitation: at high-traffic airports, visual separation alone isn’t enough.
The NTSB’s vehicle transponder push is the ground-level parallel. Runway incursions have been a persistent problem — LaGuardia just made it impossible to look away. If ground vehicles were broadcasting ADS-B or transponder signals, pilots on approach could see them on their moving map. Traffic that’s visible on a display is traffic you can avoid.
This isn’t theoretical. ADS-B In — the receive side of ADS-B — was designed for exactly this: showing you traffic that ATC sees, directly in your cockpit.
The Difference Between ADS-B Out and ADS-B In
Most GA pilots know the 2020 ADS-B Out mandate. You need it to fly in Class B and C airspace. It broadcasts your position so ATC and other aircraft can see you.
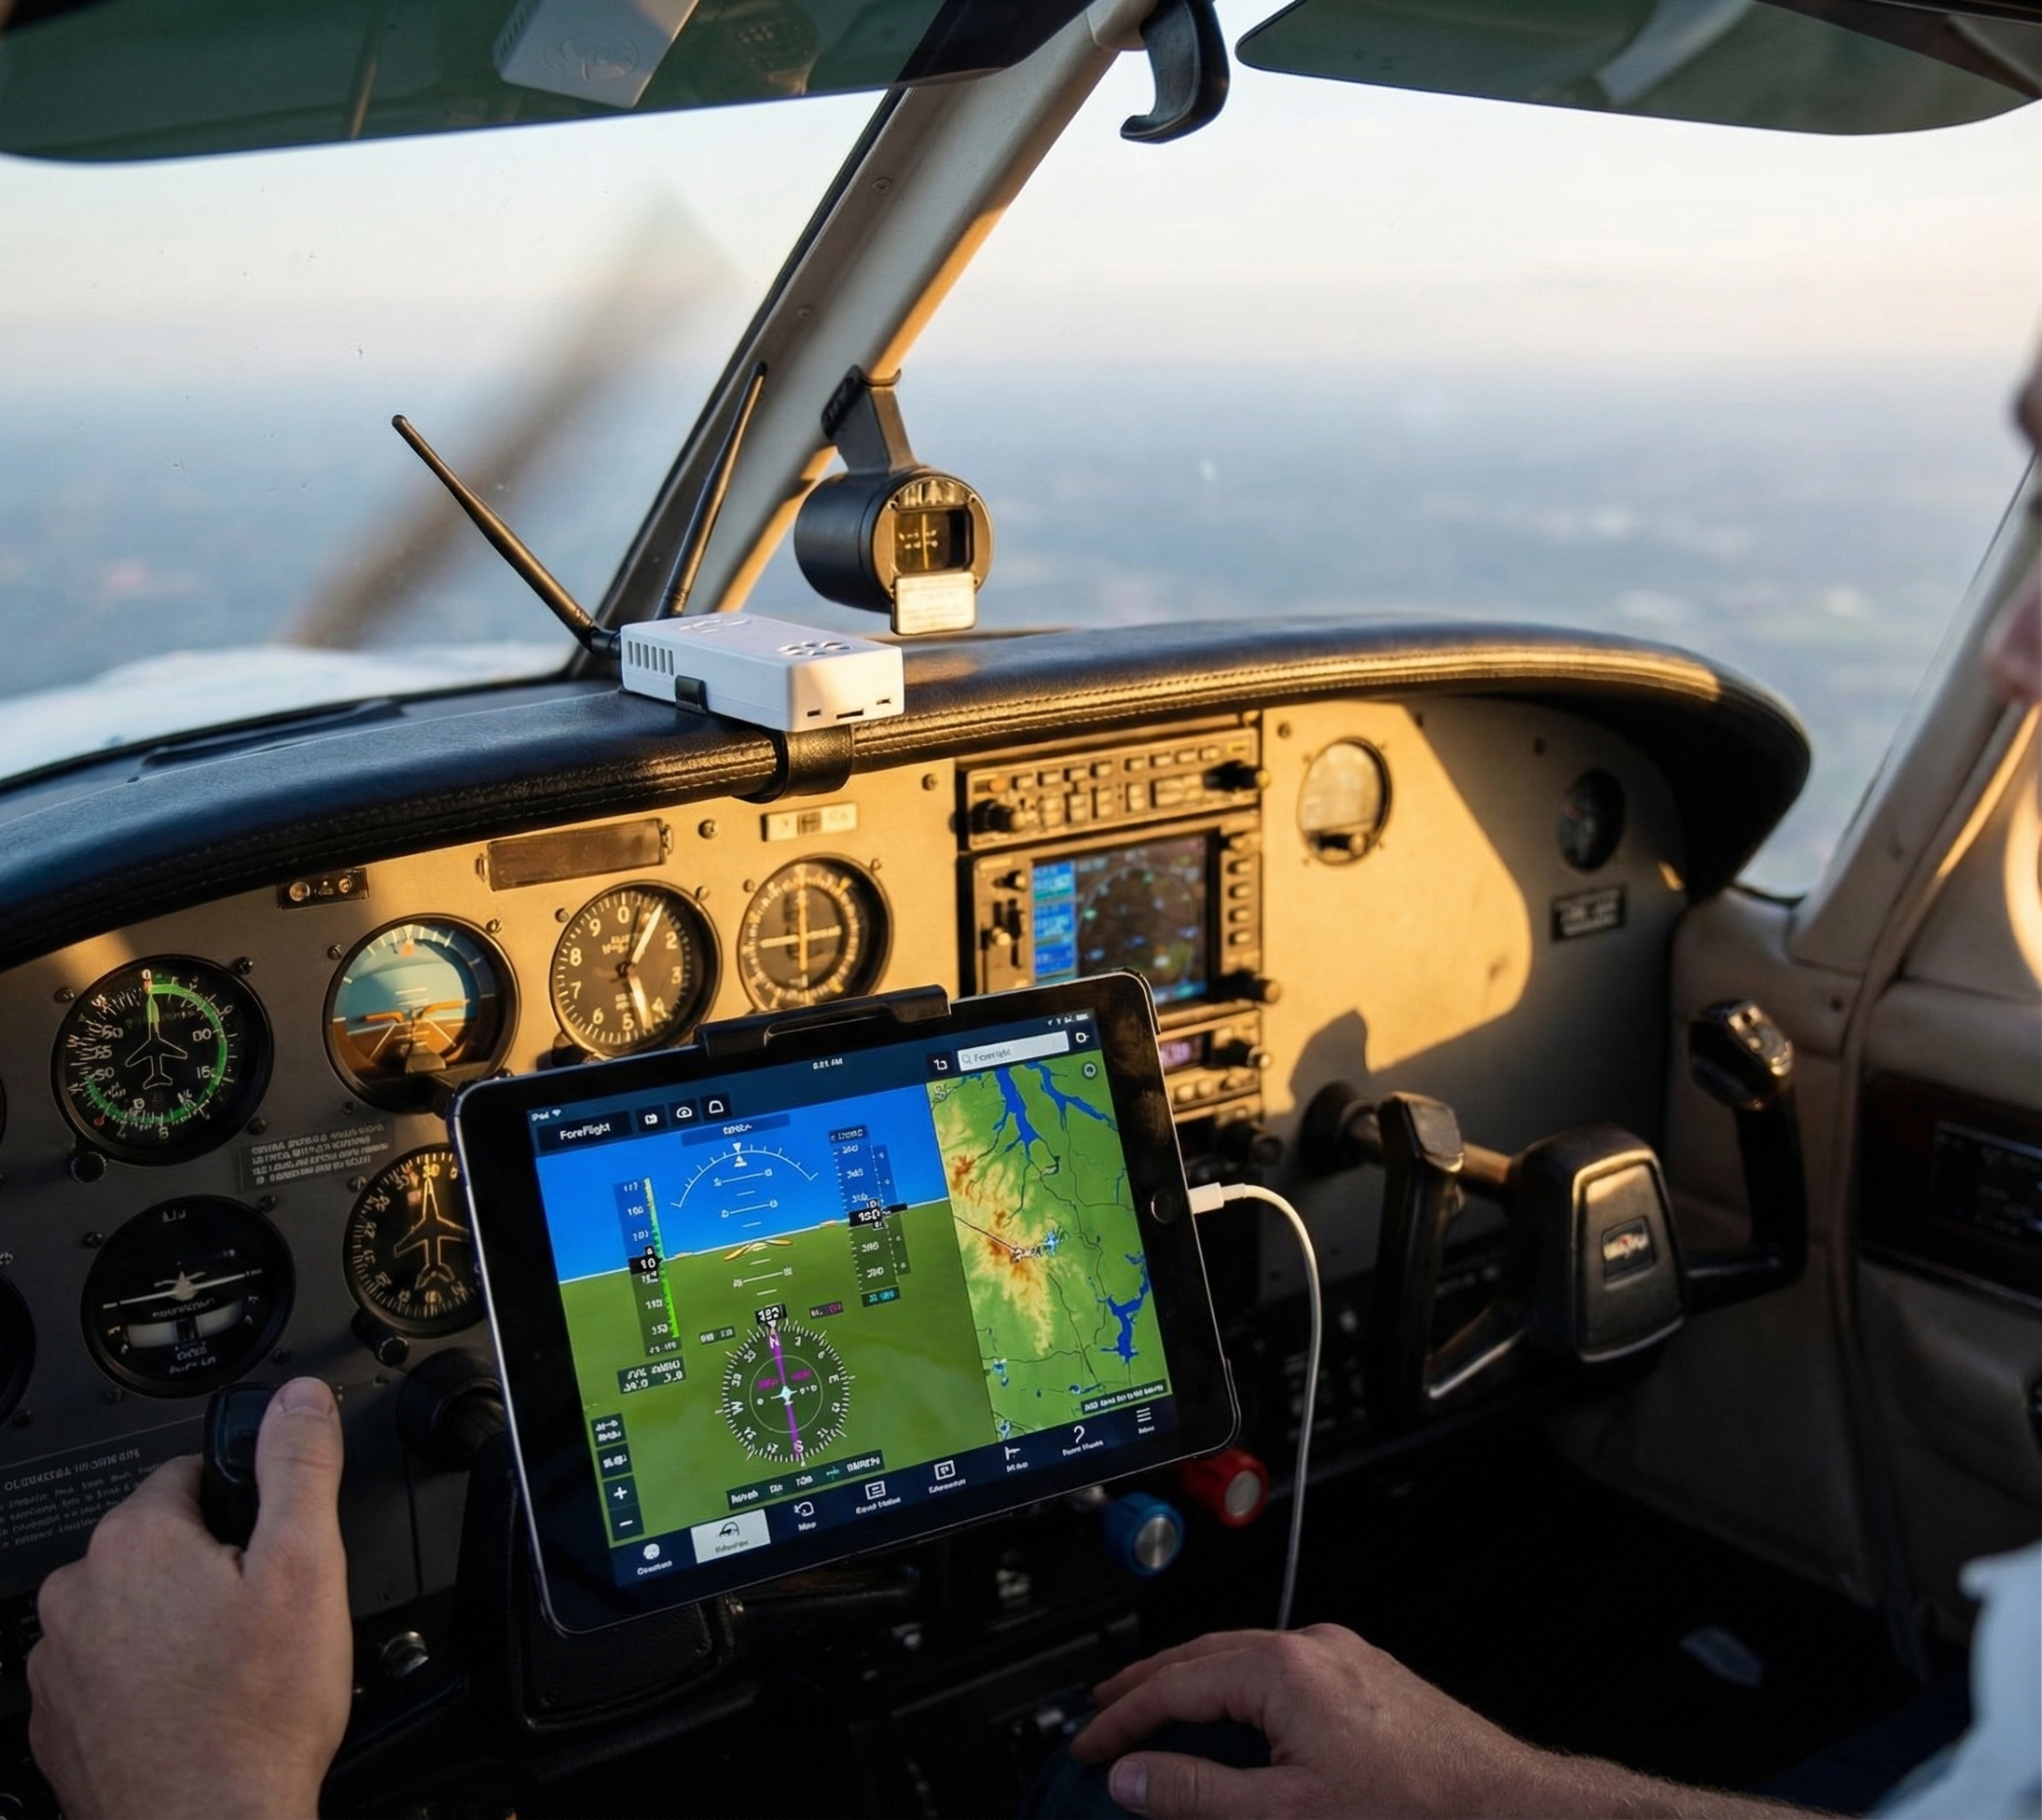
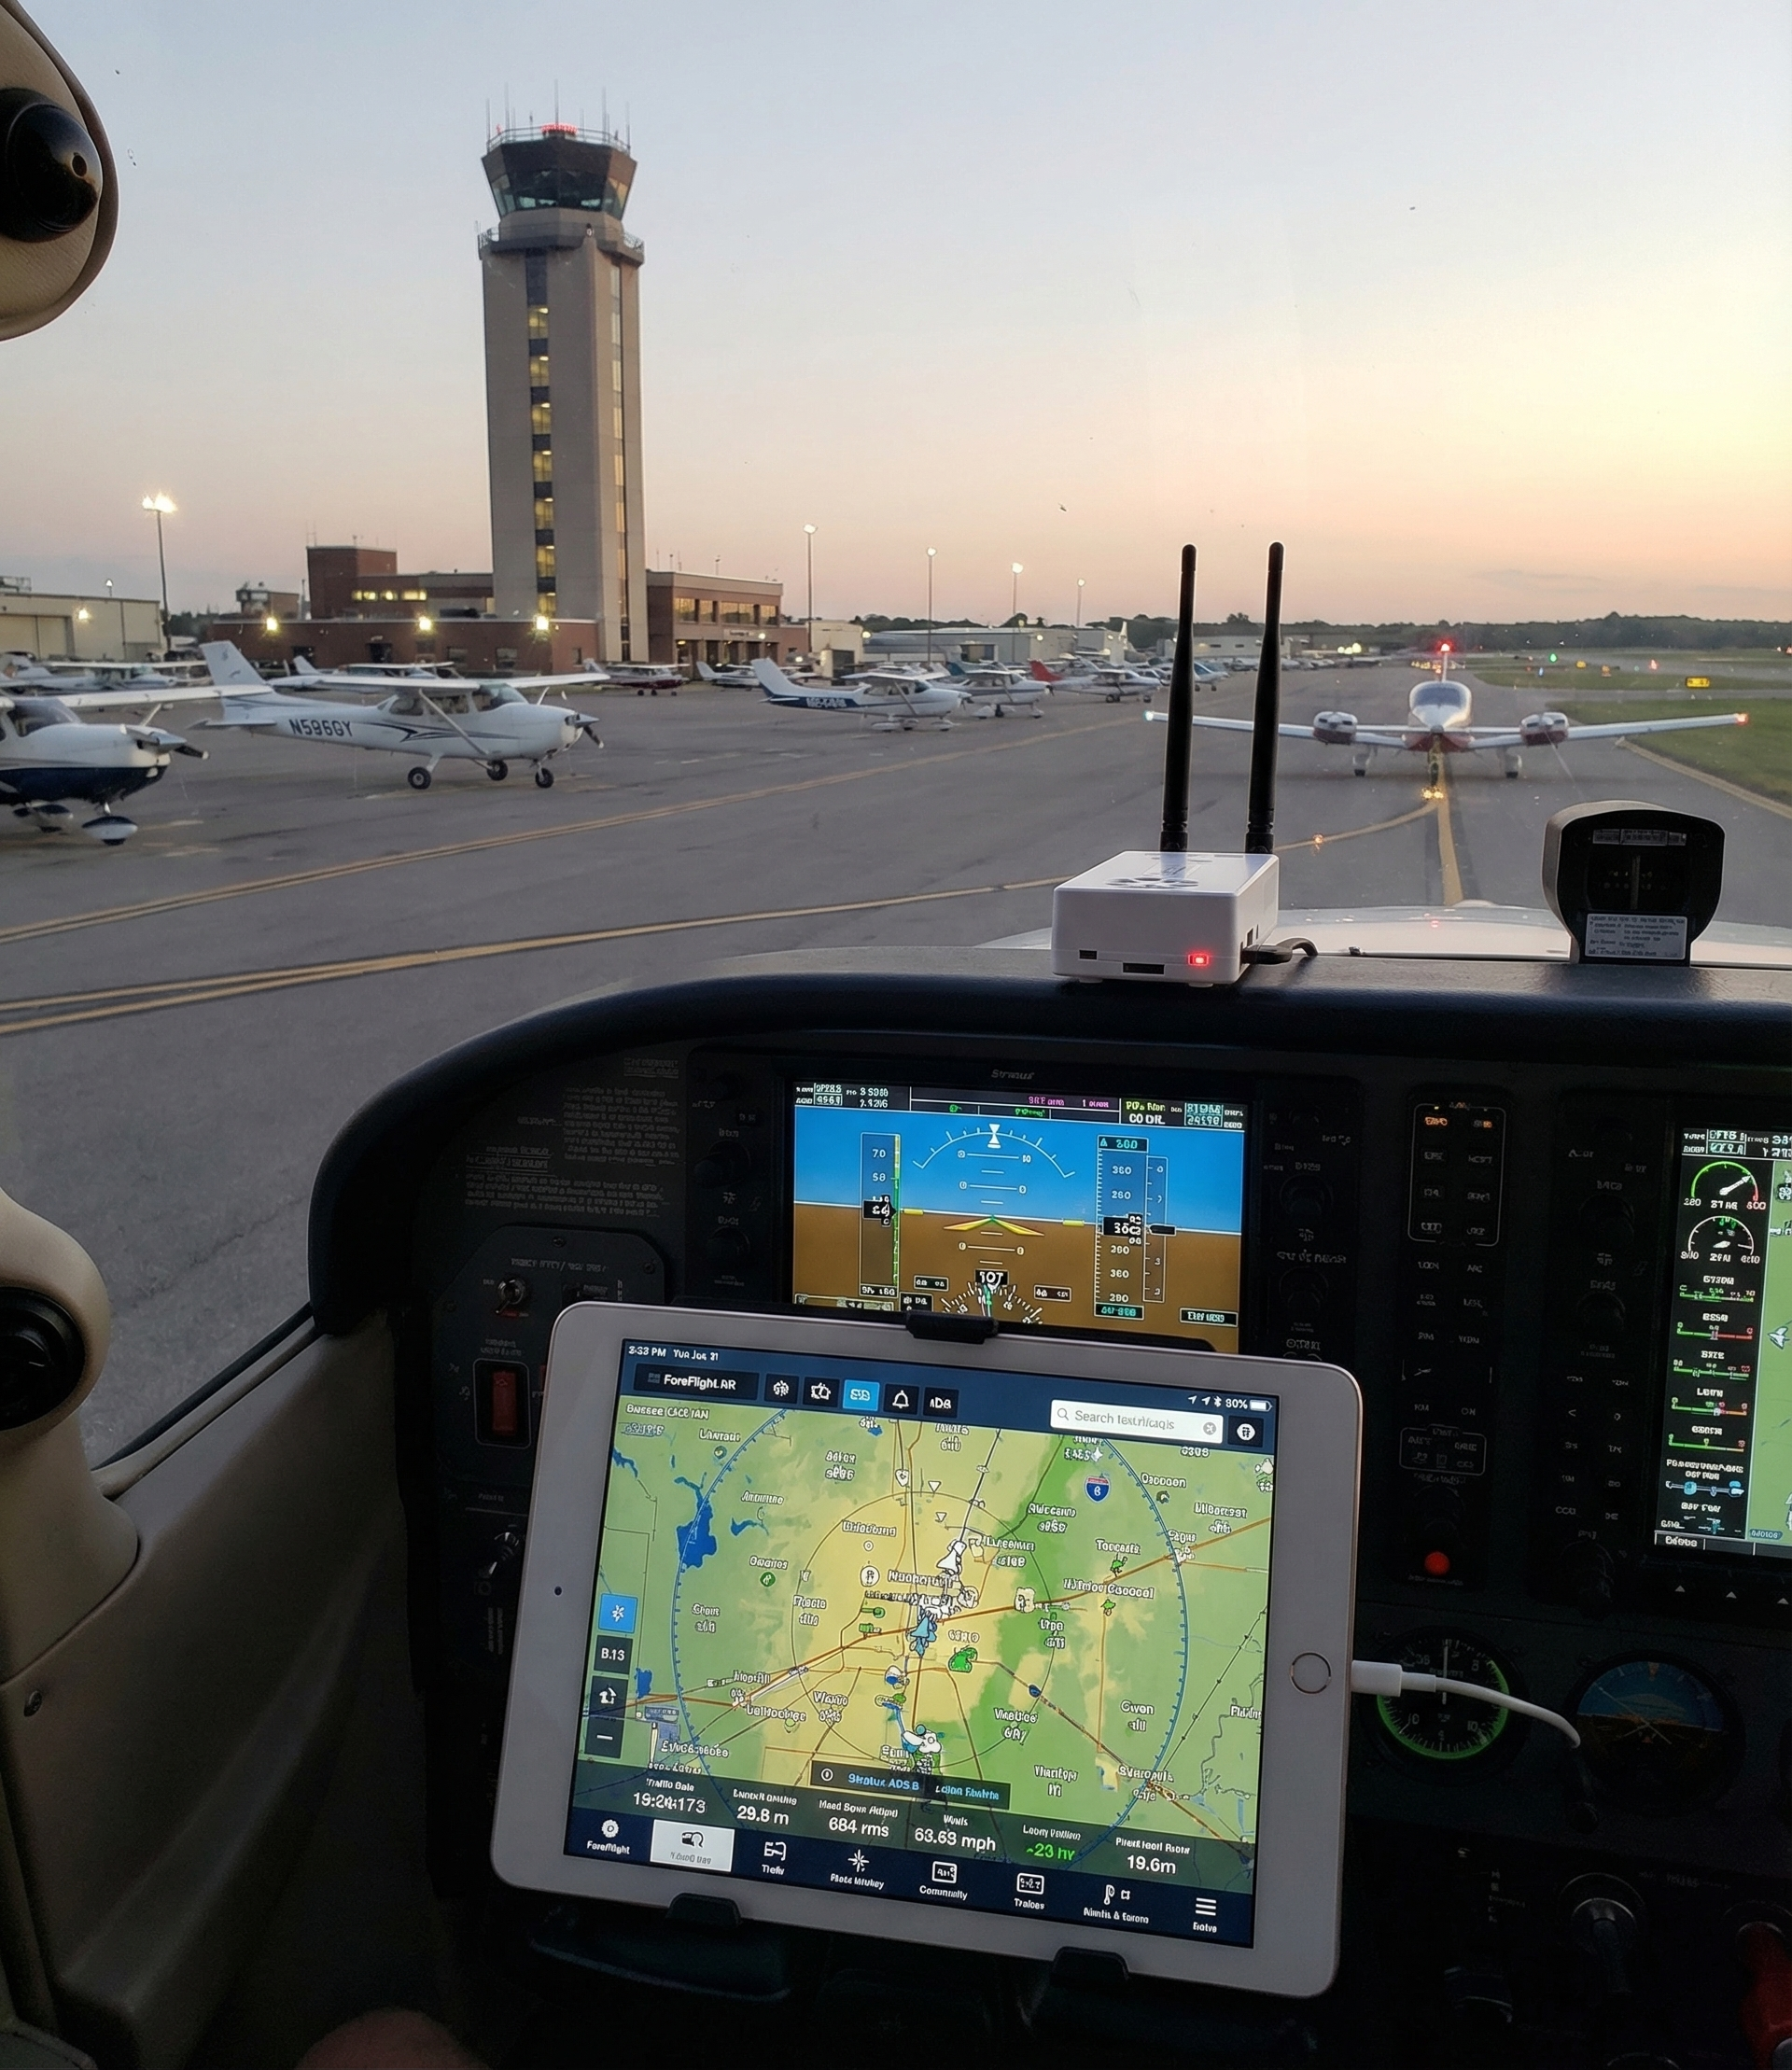
ADS-B In is the other half. It receives that data and displays it on your EFB — ForeFlight®, WingX, Garmin Pilot, FlyQ. You see traffic on a moving map. You see weather. You see the picture that ATC is looking at.
The mandate only covered Out. In was left optional. Most pilots flying GA aircraft still don’t have it.
After LaGuardia, after the GENOT, the argument for “optional” gets harder to make.
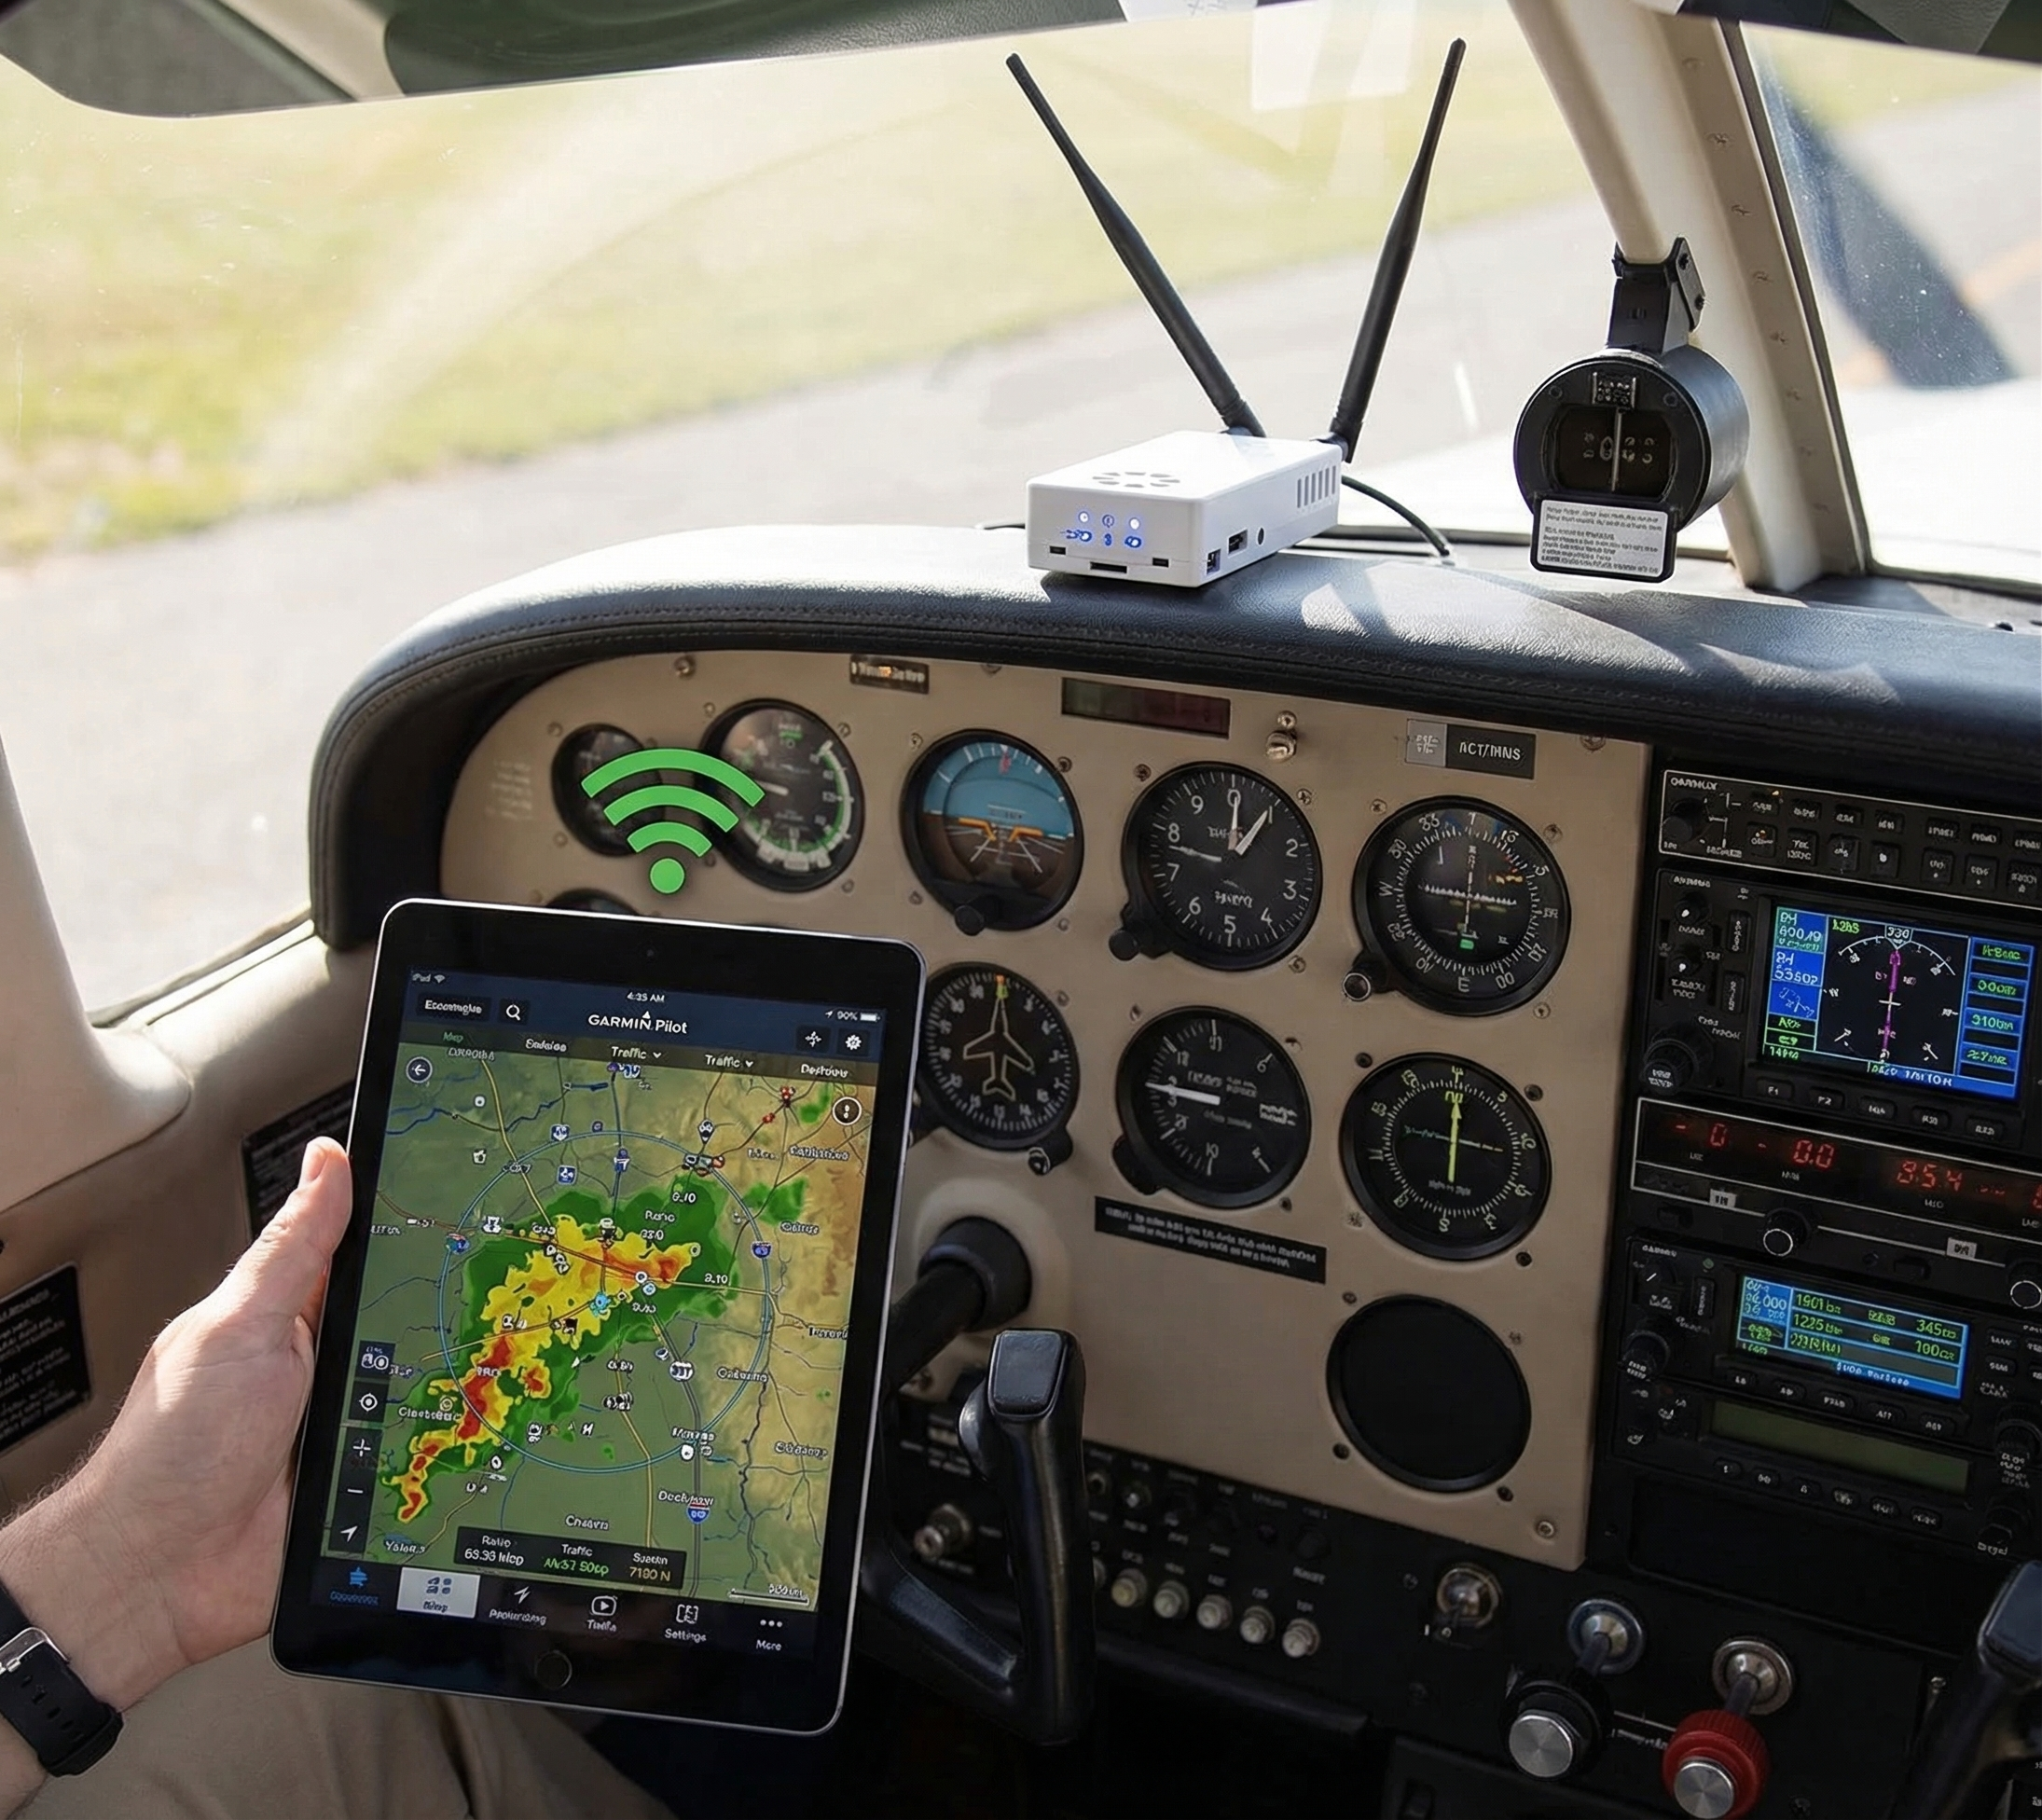
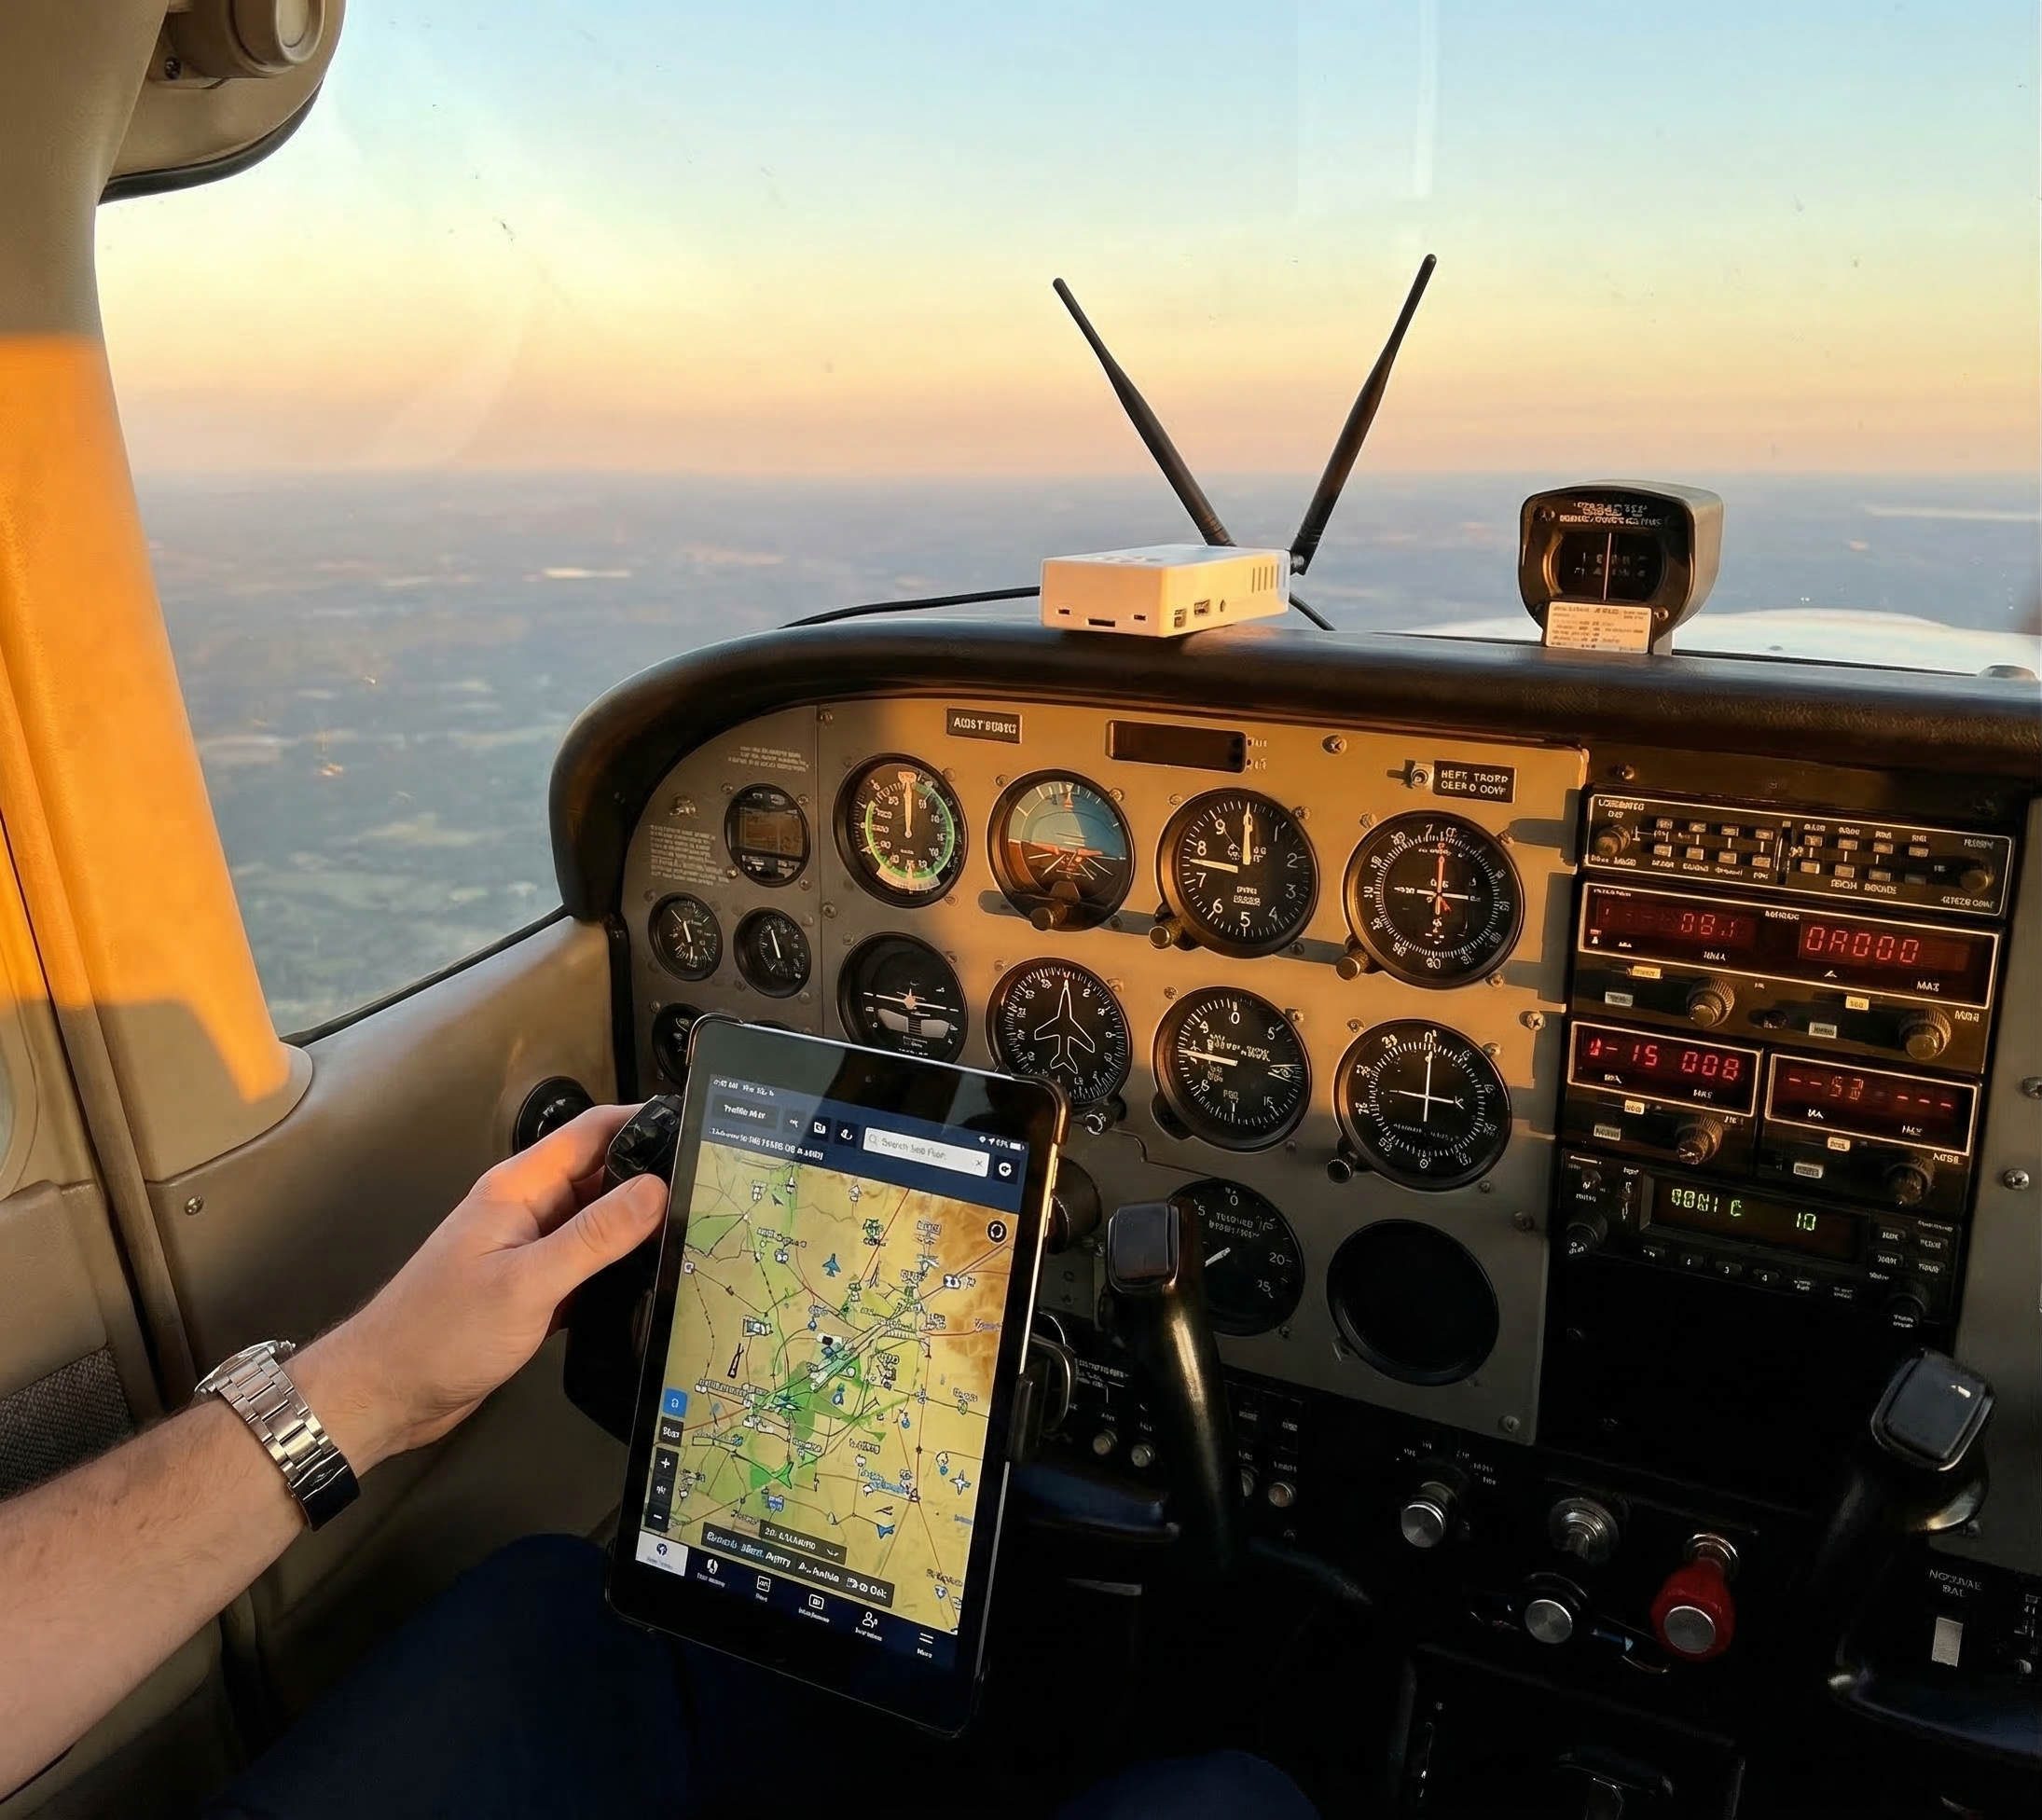
What ADS-B In Actually Shows You
On approach to a busy airport with ADS-B In running:
- Aircraft in the pattern and on final — with tail numbers and altitude
- Traffic on the ground broadcasting ADS-B Out (including, eventually, equipped vehicles if the NTSB mandate passes)
- Other aircraft on TCAS in the area
- FIS-B weather: NEXRAD radar, METARs, TAFs, PIREPs, TFRs
It’s not a replacement for radio calls and visual scans. It’s an additional layer. The kind of layer that shows you something is on the runway before you’re close enough to see it through the windscreen.
The Affordable Path
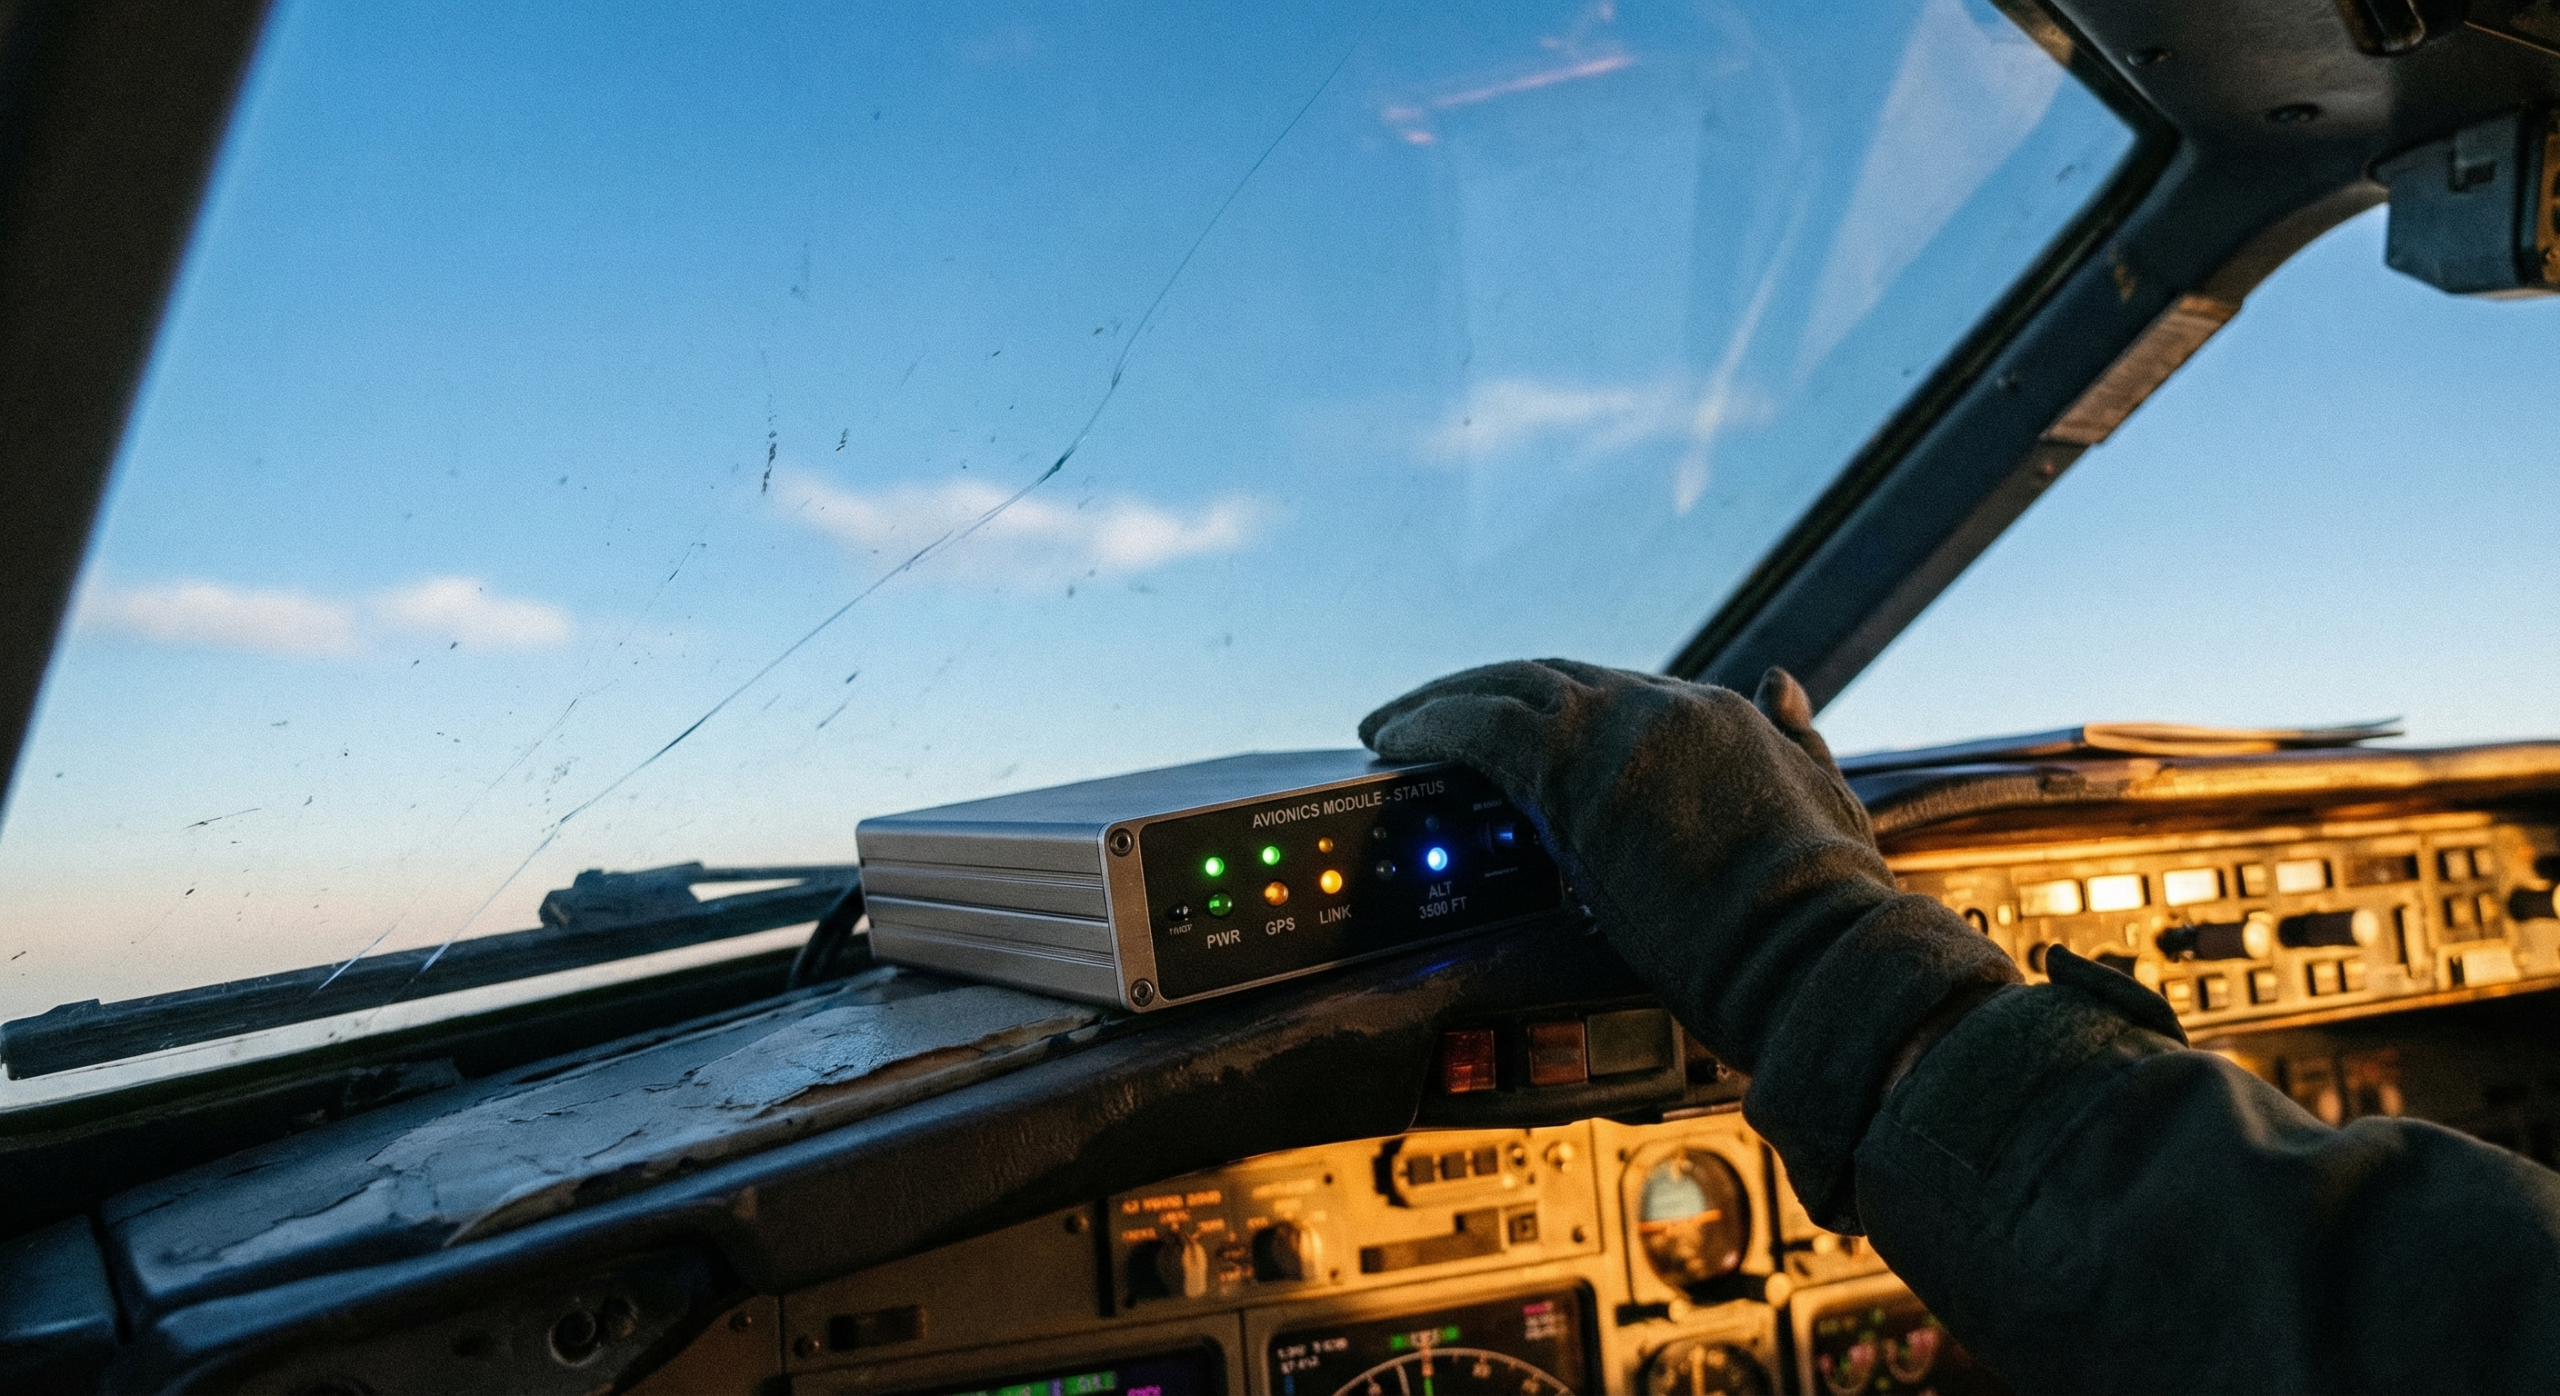
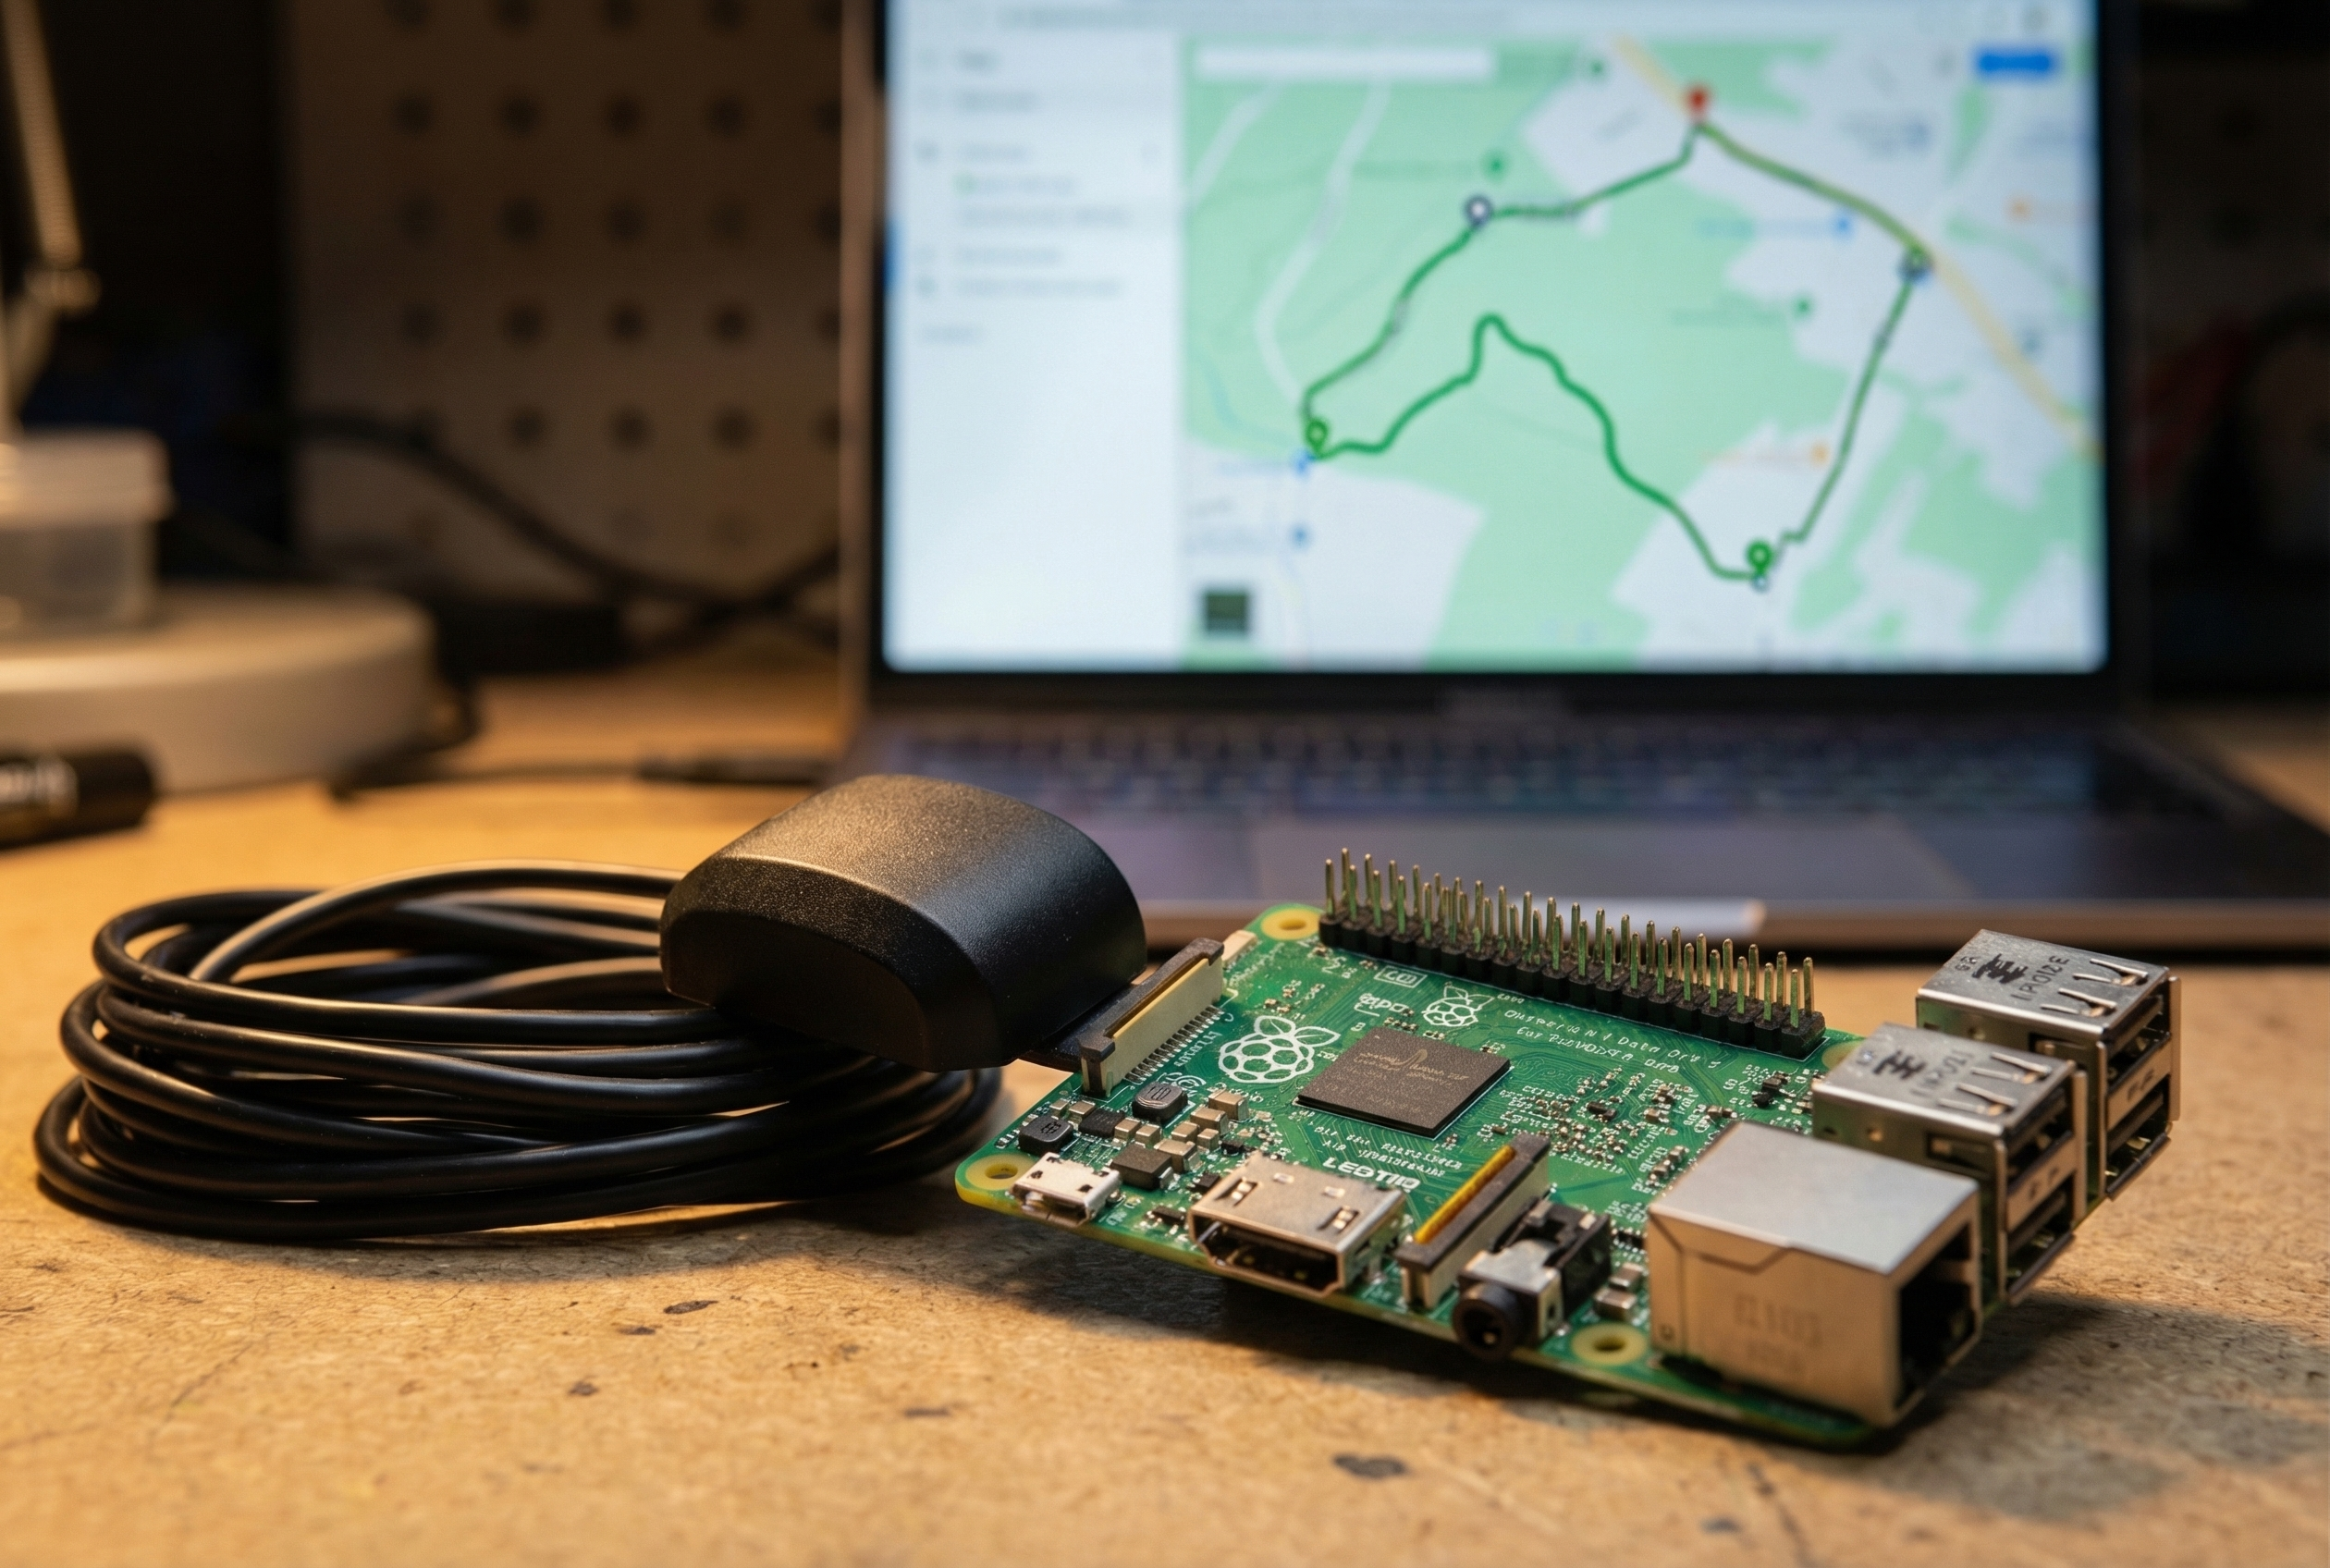
Commercial ADS-B In solutions exist. They’re generally sealed boxes that cost $500–900 and can’t be repaired when they fail.
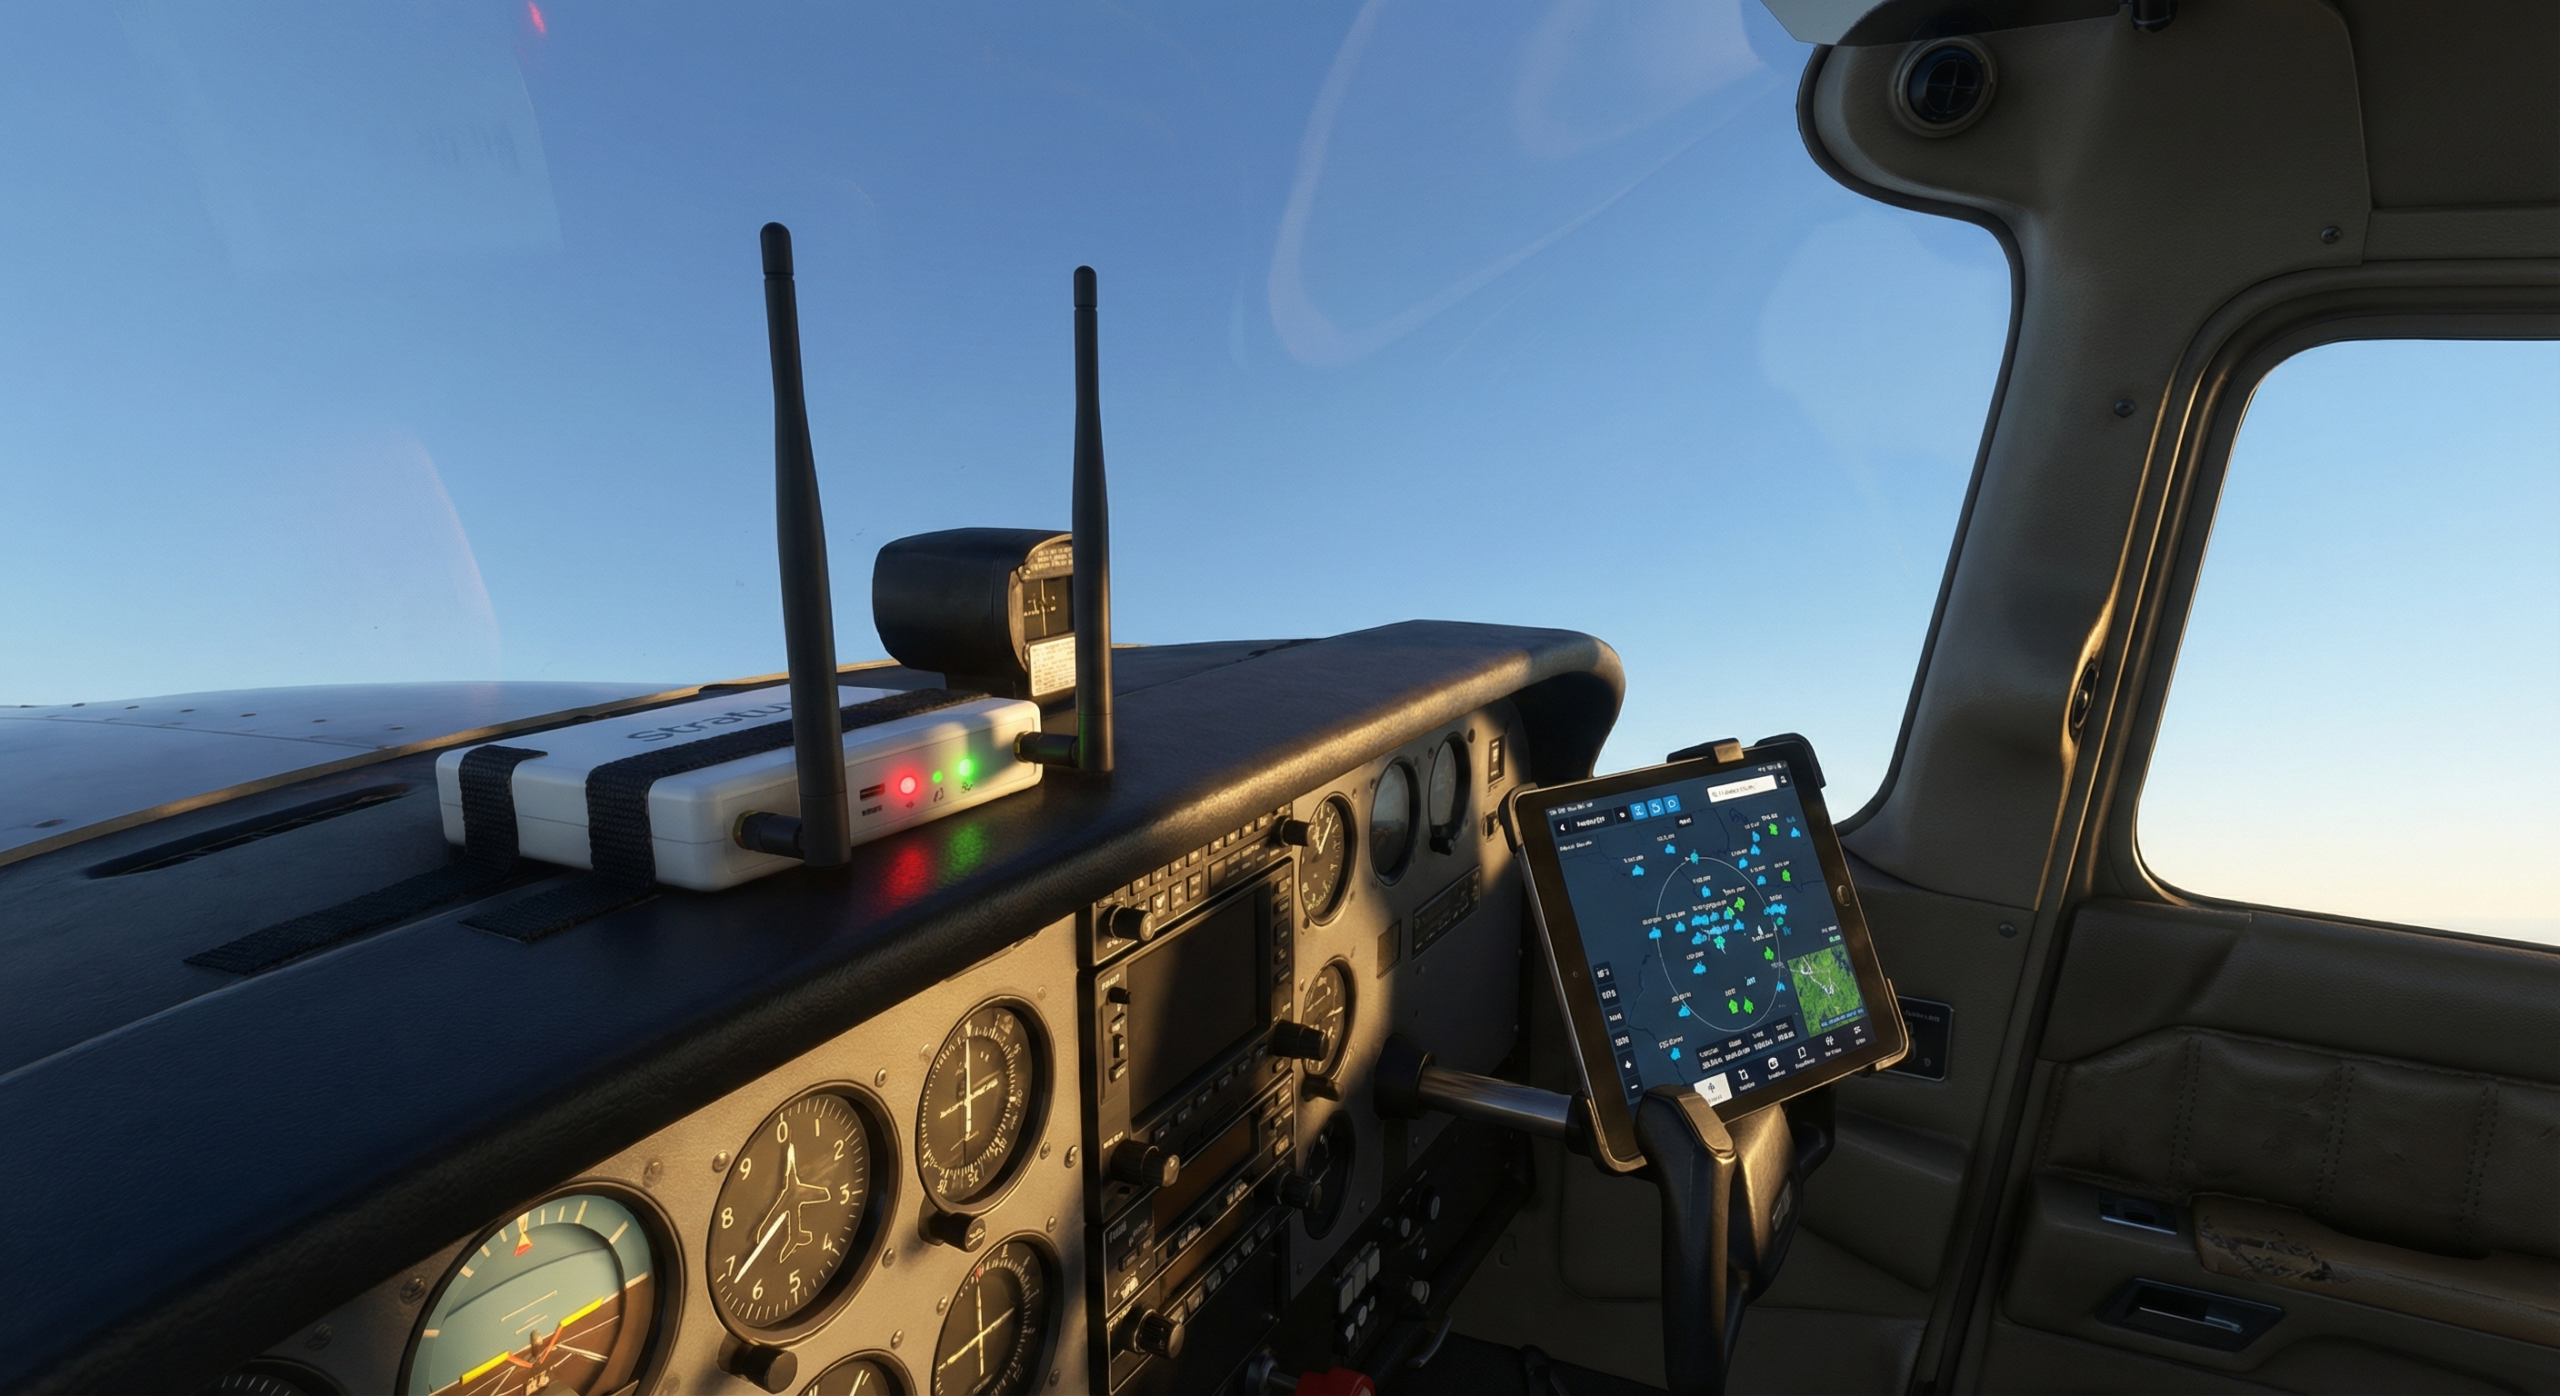
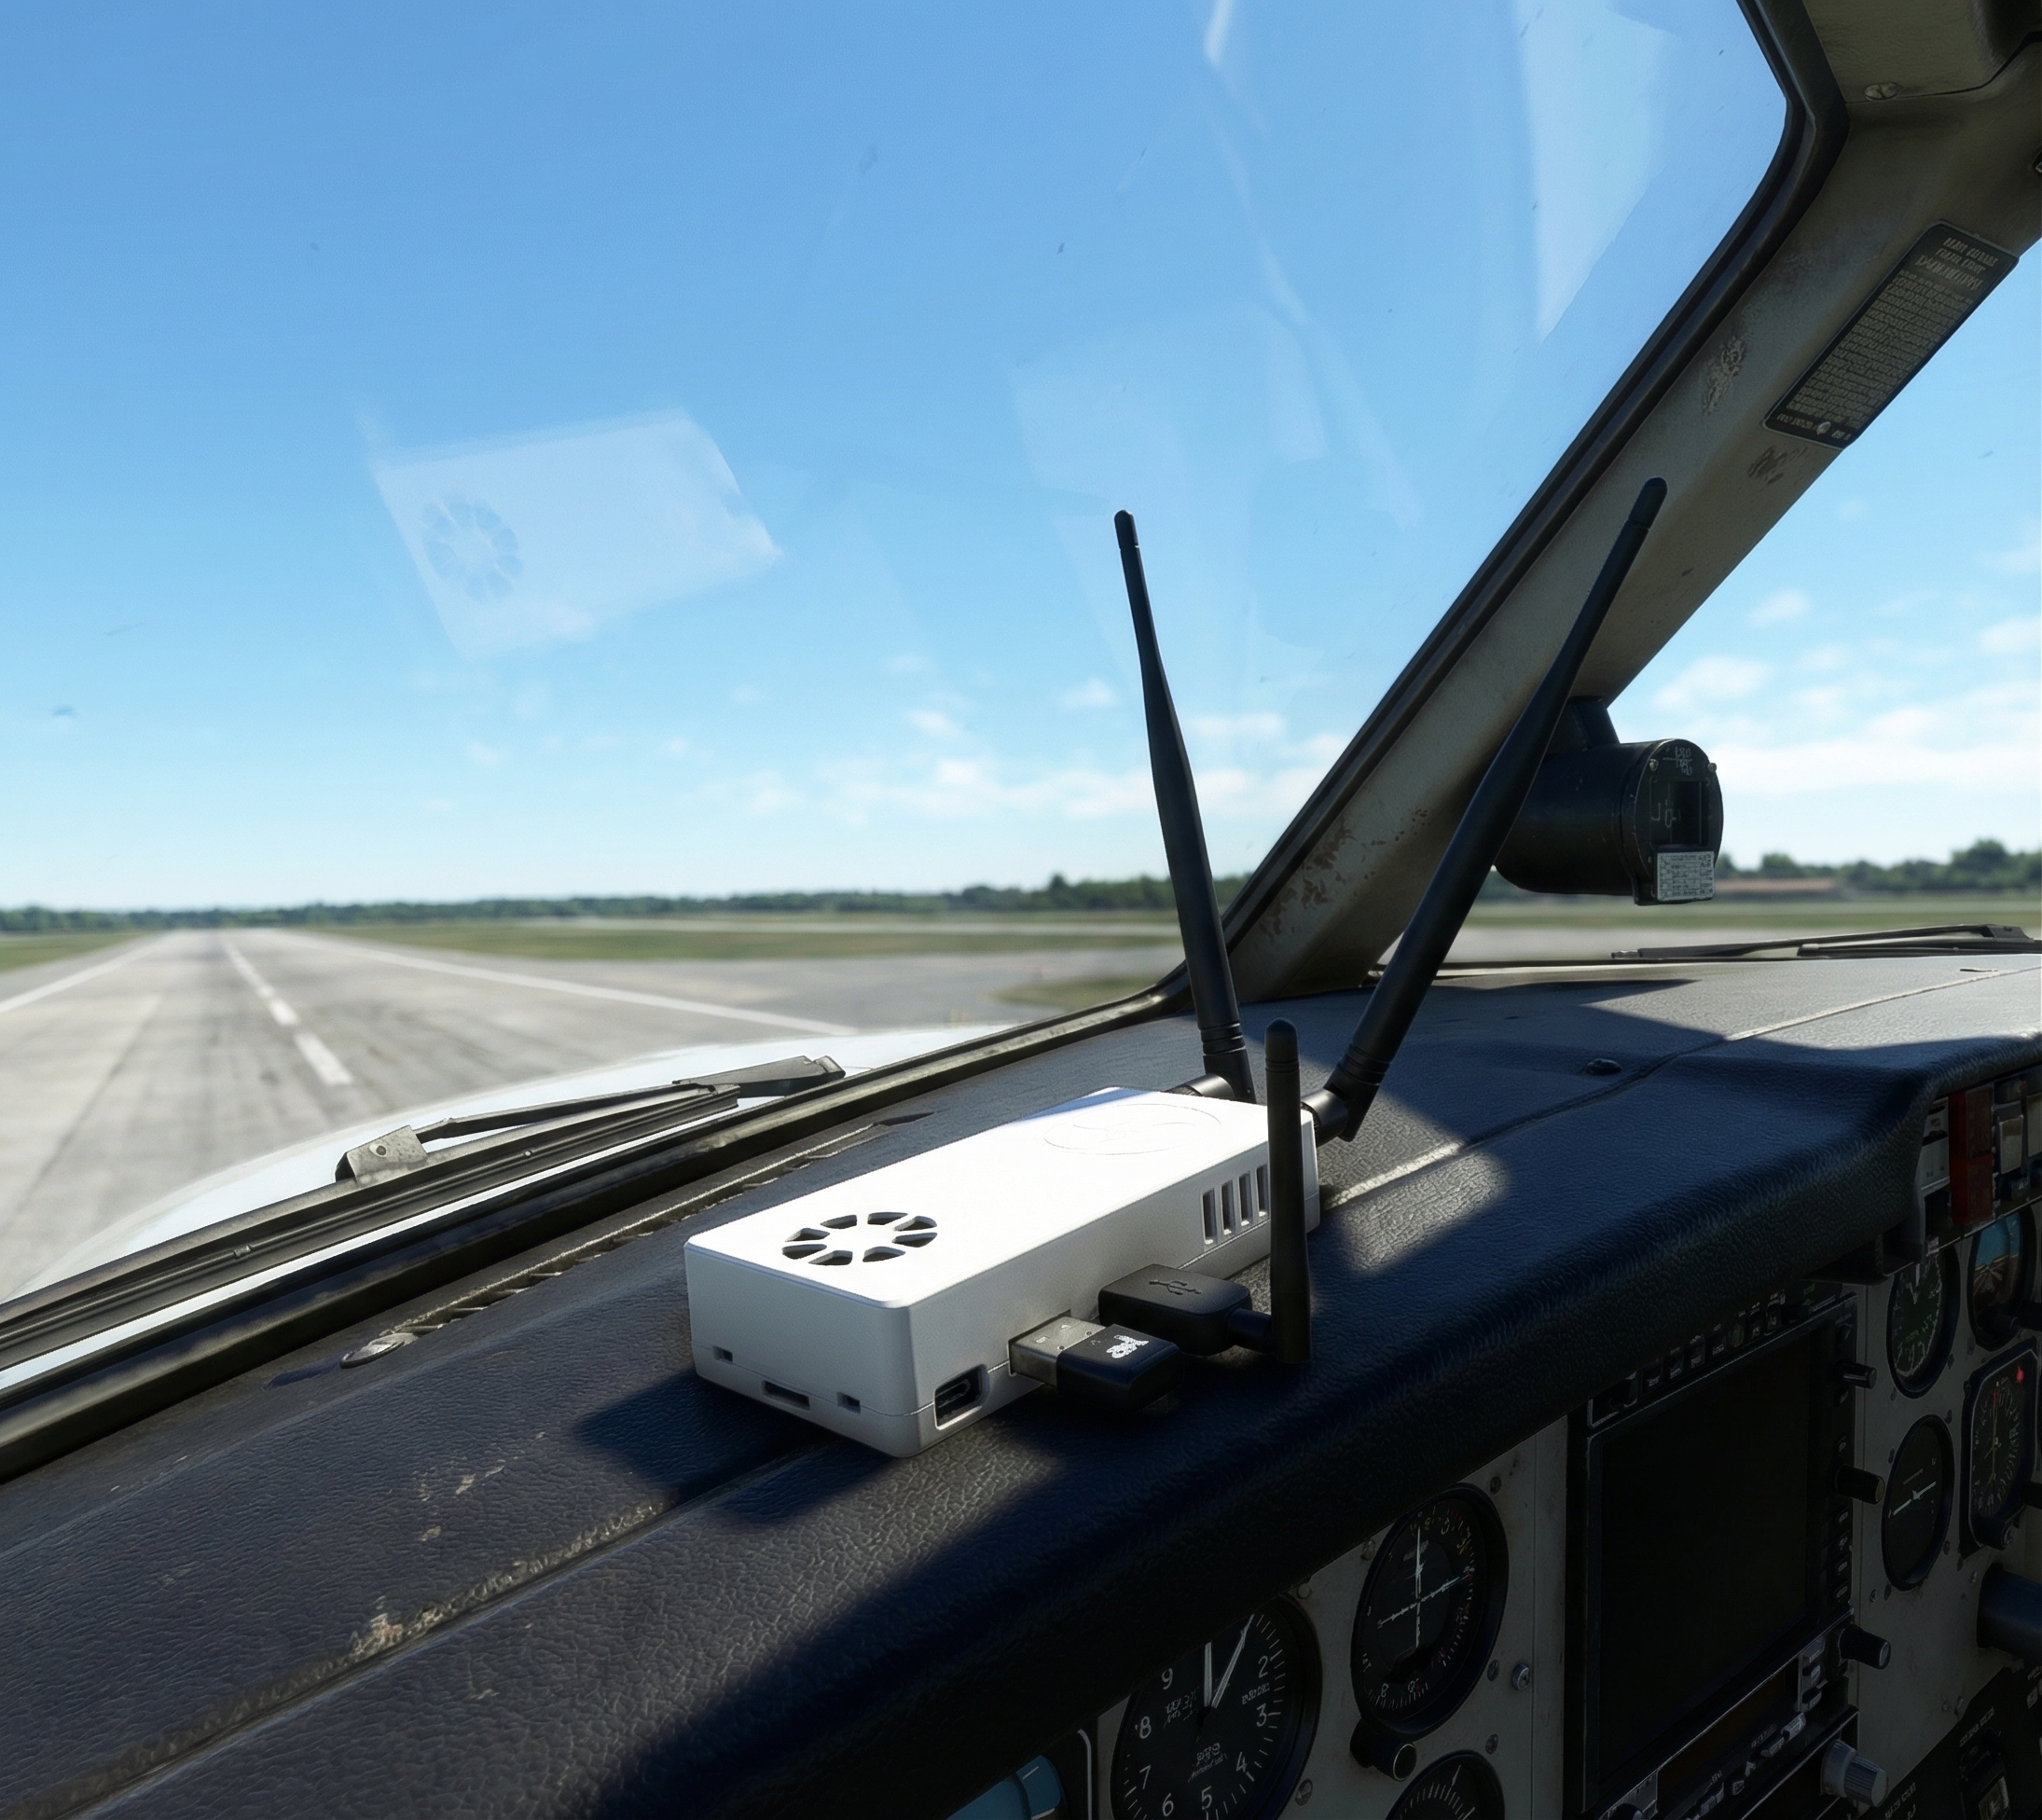
Stratux is the open-source alternative. Dual-band receiver (978 MHz UAT + 1090 MHz ES), WAAS GPS, AHRS for synthetic vision backup — assembled and tested, ready to mount on your glareshield. It works with ForeFlight®, WingX, Garmin Pilot, FlyQ, and most other major EFBs via Wi-Fi.
It’s repairable. If a component fails, you replace that component. Not the whole unit.
The pre-built unit with internal GPS is $439.99 — roughly half the cost of sealed alternatives, and it does the same job.
What the ALERT Act and These Incidents Have in Common
The ALERT Act — currently before Congress — would push for broader ADS-B In requirements for GA aircraft. The DCA collision in January sparked the bill. LaGuardia added urgency. The FAA GENOT shows regulators aren’t waiting for legislation to act.
The pattern: incidents → regulatory pressure → mandates. Pilots who already have ADS-B In are ahead of that curve. Pilots who don’t are flying with an information gap that the FAA is increasingly deciding to close by rule.
Getting ahead of a mandate means you choose your timing. Waiting for the mandate means you’re scrambling with everyone else.
One Thing That Doesn’t Change
None of this replaces radio discipline, proper scan technique, or knowing your airport diagram. LaGuardia was a controlled airport with experienced crew and ATC. Electronics help; they don’t substitute for airmanship.
But the pilot who has a traffic picture has more to work with than the pilot who doesn’t. At a busy towered airport, in a high-workload phase of flight, more information — delivered clearly on a display you’re already looking at — is a genuine safety margin.
The FAA just said see-and-avoid isn’t enough at busy airports. That’s worth taking seriously.
Get ADS-B In Before the Mandate Does It for You
Stratux gives you dual-band ADS-B In — UAT (978 MHz) and 1090ES — plus WAAS GPS and weather, in a package that works with the EFB you already use. No subscriptions. No vendor lock-in. Repairable when something fails.